Vanilla Receipes
Vanilla icecream Chocolate bliss balls Vanilla Slice Vanilla Sugar Vanilla Extract
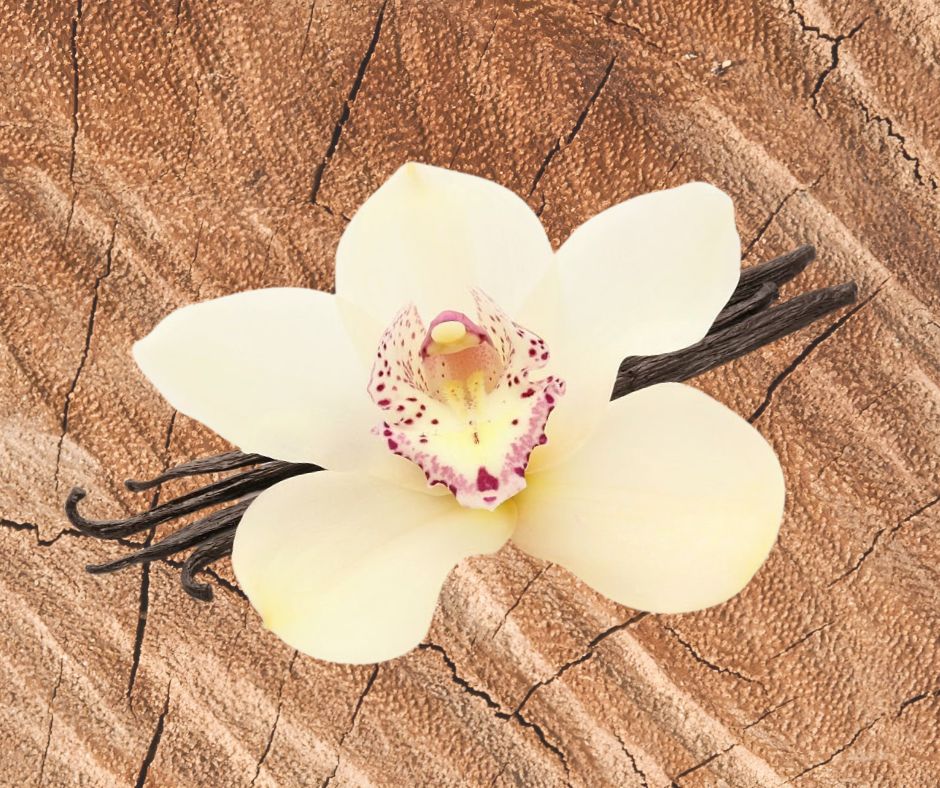
Vanilla isn’t just a flavor – it’s a tropical climbing orchid with a fascinating history. Belonging to the Vanilla genus, this plant produces the pods we know as vanilla beans.
Centuries before vanilla became a global favorite, the Aztecs used it to flavor xocoatl, a rich chocolate drink enjoyed by royalty. When the Spanish conquistador Hernán Cortés encountered it at Montezuma’s court, he brought it to Europe, where it quickly became a luxury ingredient.
Vanilla plants grow as long, fleshy vines that cling to trees with aerial roots. Their pale green, yellow, or creamy white flowers bloom for just one day each, and outside their native range they must be pollinated by hand. The resulting fruit – the famous vanilla “bean” – takes months to mature and, when freshly harvested, has no aroma at all.
The magic happens during curing: a slow, traditional process of sun-drying and “sweating” that transforms the pods into the glossy, chocolate-brown beans we know. This process can take up to five months, developing the sweet, rich scent of vanillin.
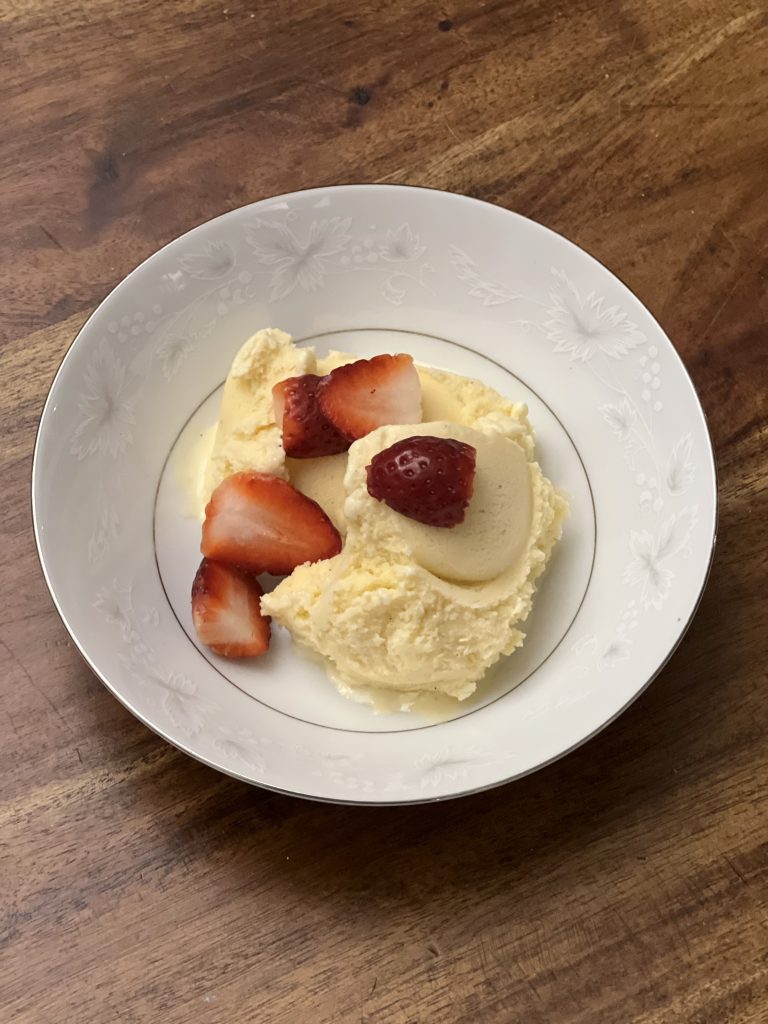
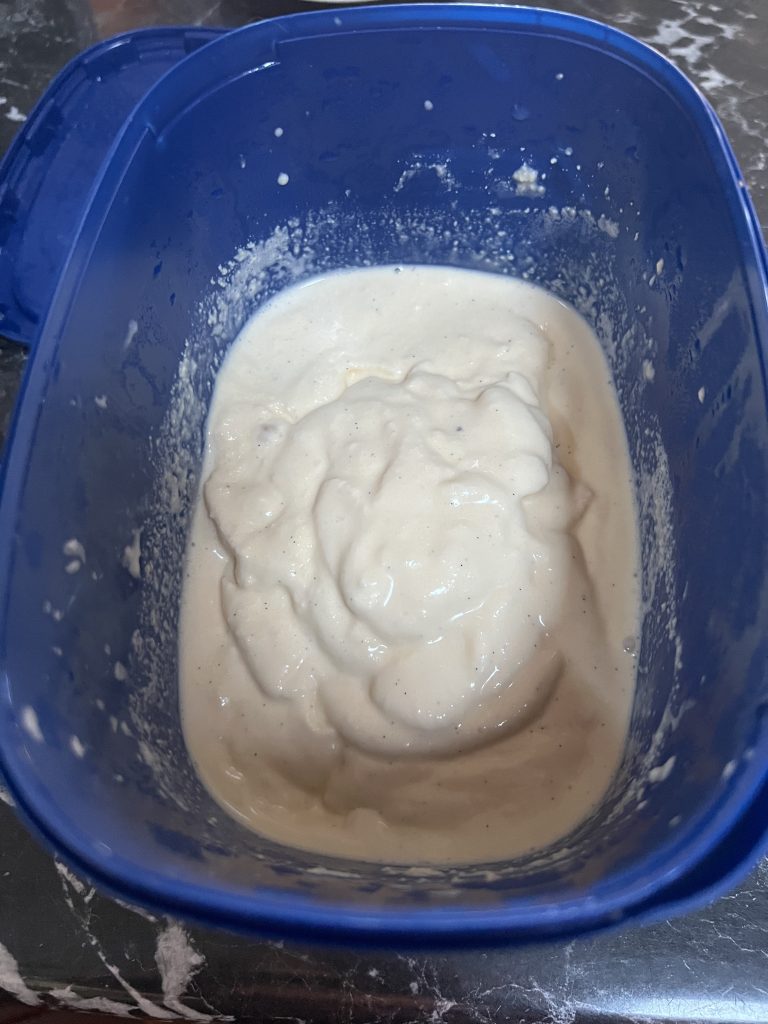
Vanilla Icecream
If you have never tried to make icecream, or if you think that you need a icecream maker, think again! Here is a easy receipe to try for a heavenly smooth and creamy icecream.
Ingredients
- 6 egg yolks
- 2/3 cups caster sugar
- 400ml fullcream milk
- 1 vanilla bean
- 300ml thick cream

Steps
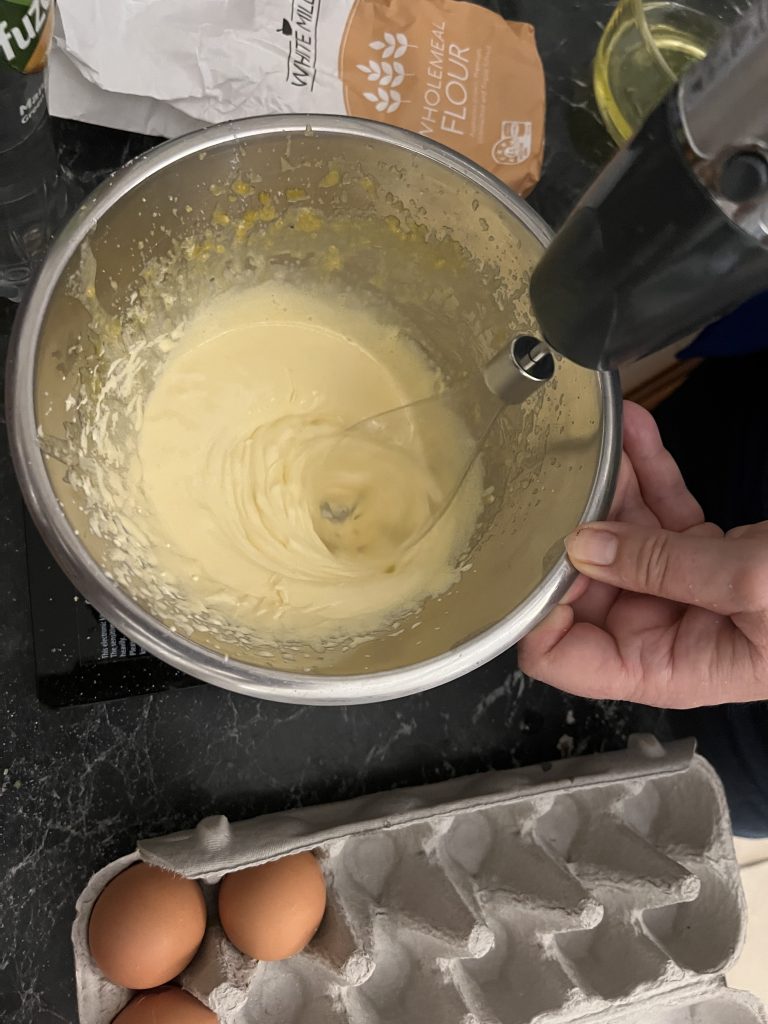
- Mix the 6 egg yolks with the 2/3 cups of caster sugar in a large bowl and beat until thick and pale.
- Place 400ml milk in a saucepan. Slice the vanilla bean length wise and scrape the seeds into the milk. Add the pod, then heat to just under boiling temperature.
- Remove from the heat and let it sit and infuse for about 10 minutes.
- Discard the pod. Add the egg mixture and mix until combined.
- Heat over low heat whilst stirring – without letting it boil – until slightly thickened. This may take 20 minutes or more

- Pour the mixture into a bowl and let it sit over a bowl of ice to cool.
- Put a plastic wrap over the mixture to prevent a skin to form and place the bowl in the fridge to chill completely.
- Add 300ml of cream, whisk until combined. Cover and place in the freezer for 60-90 minutes until the icecream starts to freeze at the edges.
- Beat the icecream with a stick mixer until smooth, then return to freezer.
- Repeat 2-3 more times. This will prevent the formation of ice crystals
- Enjoy!
Notes
If you have a icecream machine, you can churn the mixture according to manufacturer’s instructions.
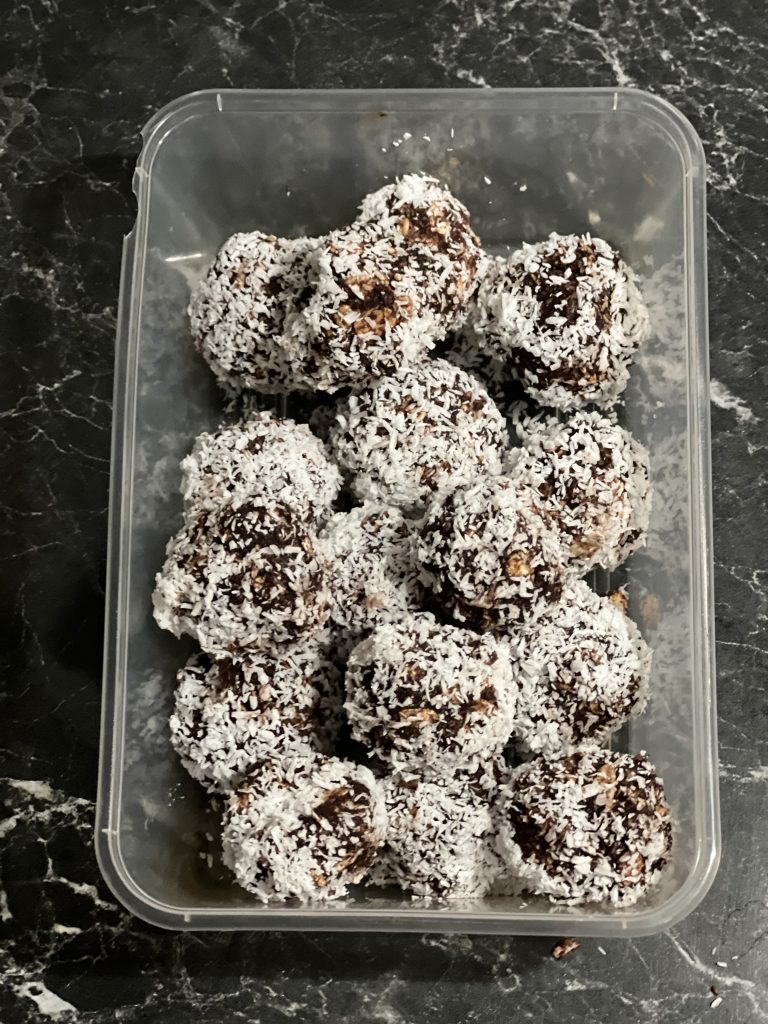
Chocolate Bliss Balls
These Bliss Balls are super-easy and very yummy!
Chocolate with a twist of fresh vanilla – what could go wrong?!?
Ingredients
- 100g room temperature butter
- 75ml sugar
- 200ml rolled oats
- 1 vanilla bean (or 3tspn vanilla sugar)
- 3-4 tbs cocoa powder
- 50ml + 100ml desiccated coconut
Steps
- Slice the vanilla bean length wise and scrape the seeds and mix with all other ingredients in a bowl (only use 50ml of coconut)
- Put the remaining coconut in a small bowl.
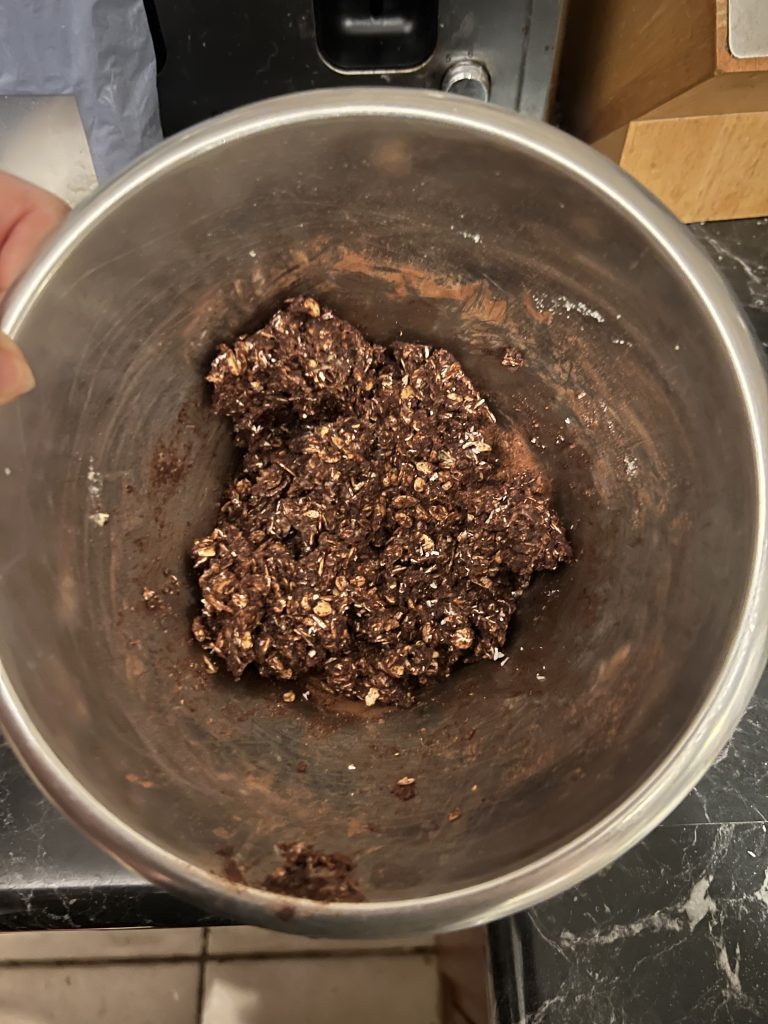
- Roll the mixture into small balls and roll to cover them in the remaining coconut.
- Place in the fridge to cool
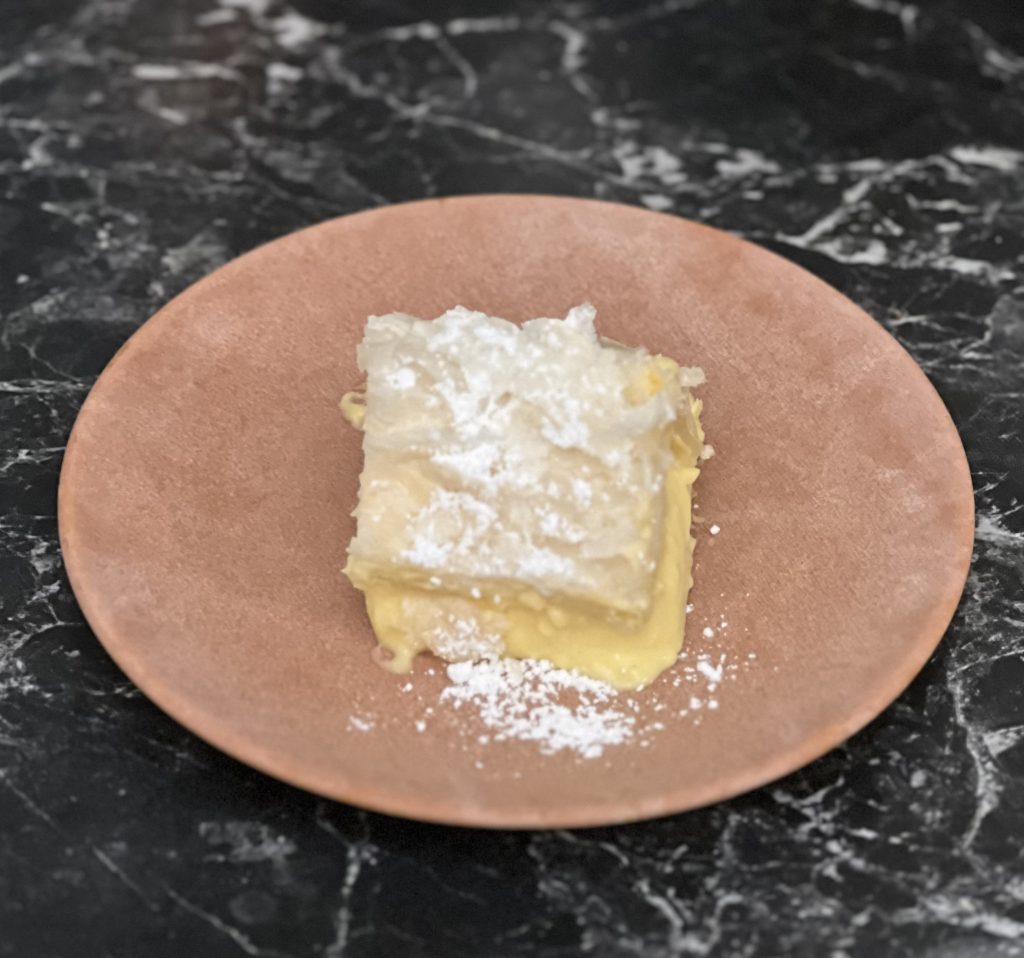
Vanilla Slice
Ah, the vanilla slice — equal parts dessert, national treasure, and custard engineering marvel. Two layers of flaky pastry? Check. A wobbly slab of creamy vanilla custard? Check.
Vanilla slice is messy, sweet, and completely unapologetic — the kind of treat you eat with one hand while holding a napkin (or three) in the other.
Ingredients
- 2 bought puff pastry sheets
- 1 cup milk
- 1 vanilla bean
- ¾ cups corn flour (must be corn/maize based)
- ½ cup custard powder
- 3/4 cups caster sugar
- 3 cups thickened cream
- 50g unsalted butter
- 3 egg yolks
- Icing sugar (to dust)
Steps
- Preheat the oven to 220 degrees. Line a 23cm square cake pan with aluminium foil to make it easier to lift out the slice later. Let the foil hang over the sides.
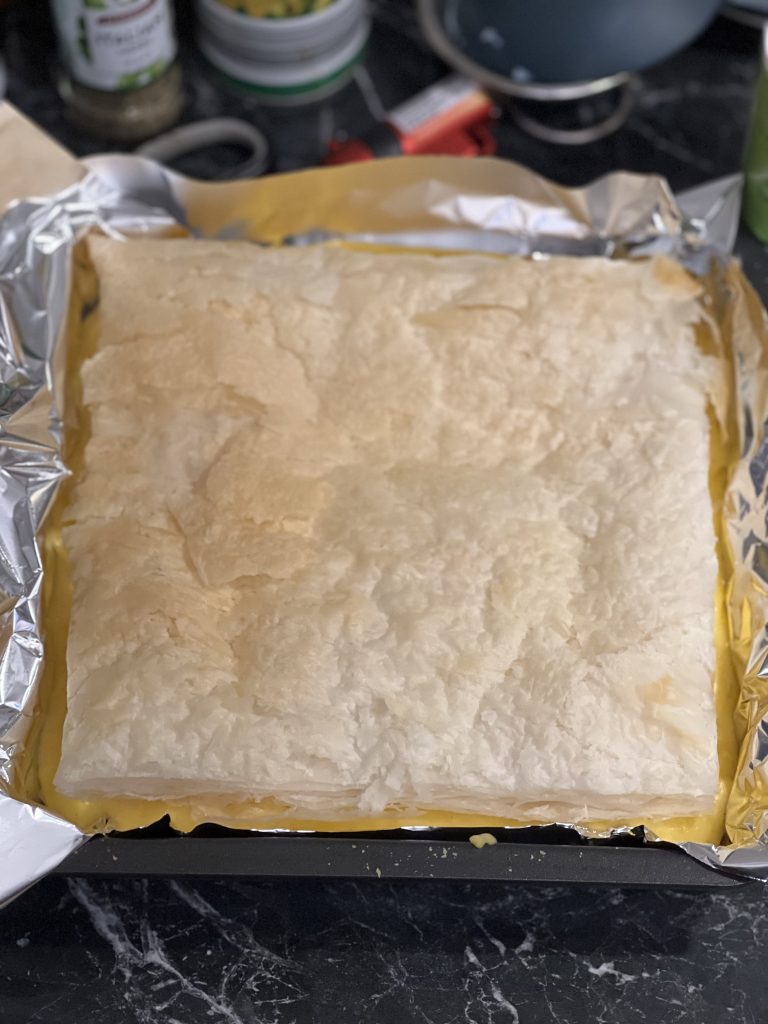
- Place the 2 puff pastry sheets on a baking tray covered with baking paper. Bake for about 10 min until golden brown.
Allow them to cool down and then use a clean tea towel to press down to remove any air pockets. Trim one of the sheets slightly to fit into the prepared pan, cooked side up.
- Place 1 cup of milk in a saucepan. Cut the vanilla bean lengthwise and scrape the seeds into the milk. Add the empty vanilla pod too, and gently warm the milk to just under boiling. Set aside to infuse for at least 10 minutes.
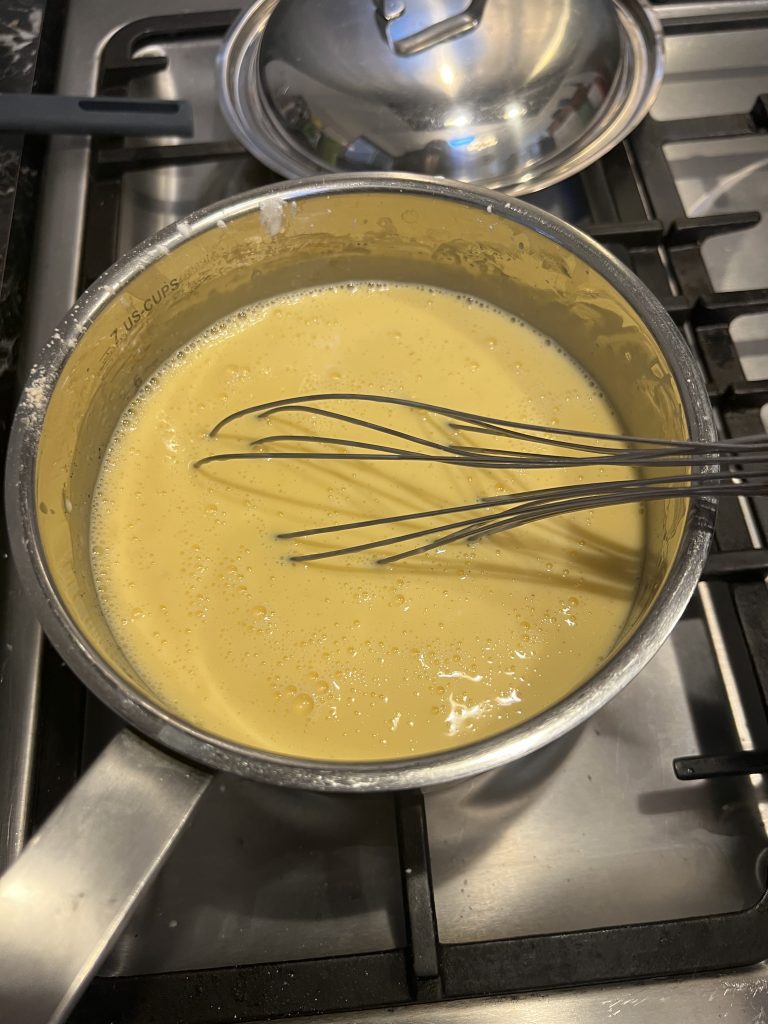
- Remove the vanilla pod, Add ¾ cup cornflour, ½ cup custard powder and ¾ cup caster sugar to the milk and whisk until smooth.
Add 3 cups of thickened cream, then heat up the mixture over low heat whilst stirring – without letting it boil until the mixture thickens. This will take at least 20-30 minutes.
The custard should be thick enough for a spoon to be able to stand up.
- Add 50g unsalted butter and stir well to combine. Remove from heat.
Add 3 egg yolks (one at a time) and whisk until smooth. - Pour the custard over the pastry lined pan and let it cool slightly.
Add the second puff pastry sheet on top, cooked side up.
Refrigerate overnight. - Next day, remove the slice from the pan, cut into 12 squares with a sharp knife and dust with icing sugar.
Notes:
Best way to cut the slice is with a serrated knife and gently saw through the pastry. You could also dip your knife into boiling hot water, wipe dry and cut, repeat process with each cut.
Best eaten on the day it’s made, but it can be stored for 3-4 days in an airtight container in the fridge.
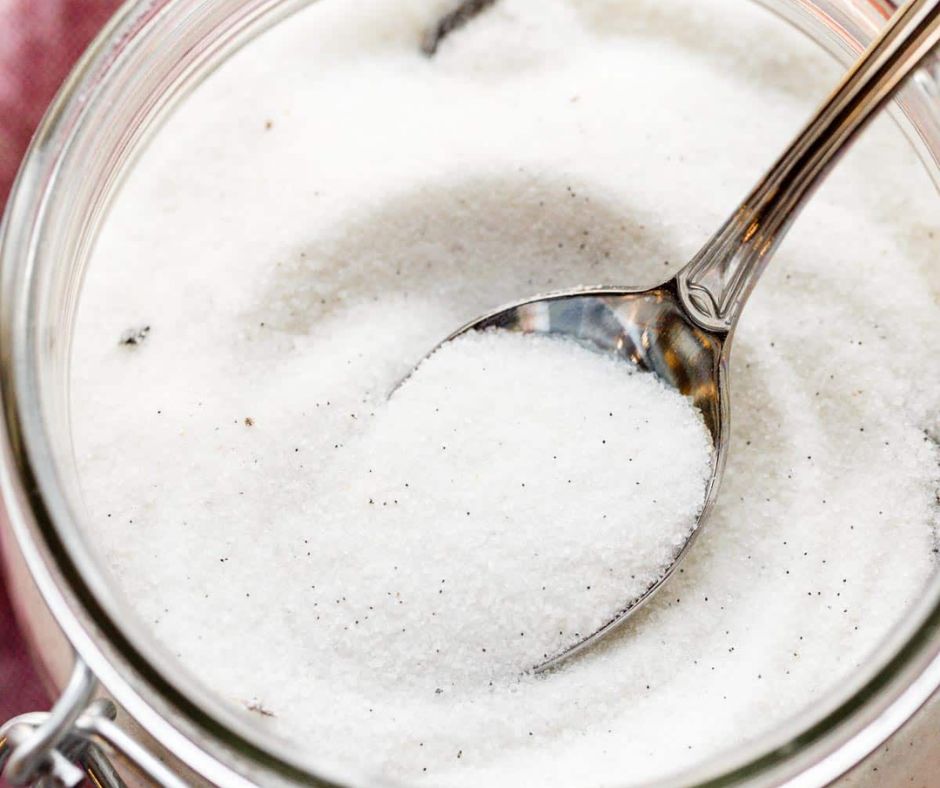
Vanilla Sugar
Vanilla Sugar is like plain old sugar decided to put on a fancy hat and get all dressed up with a splash of vanilla! Whip some up at home and make your coffee or tea feel like a swanky café experience, or add it into your baked goods to turn your kitchen into a five-star bakery (because who doesn’t want their cookies to be the talk of the town?).
Ingredients
- 1 vanilla bean
- 2 cups sugar
Steps
- Slice the vanilla bean length wise and scrape the seeds and mix with the sugar.
- If you like, you can use a blender or food processor to mix further.
- Put the vanilla sugar in a jar and add the empty pod for additional flavour. Cut it as needed.
- Use immediately or it will last for ages in your pantry. You can also top up with more empty pods or with additional sugar as required.
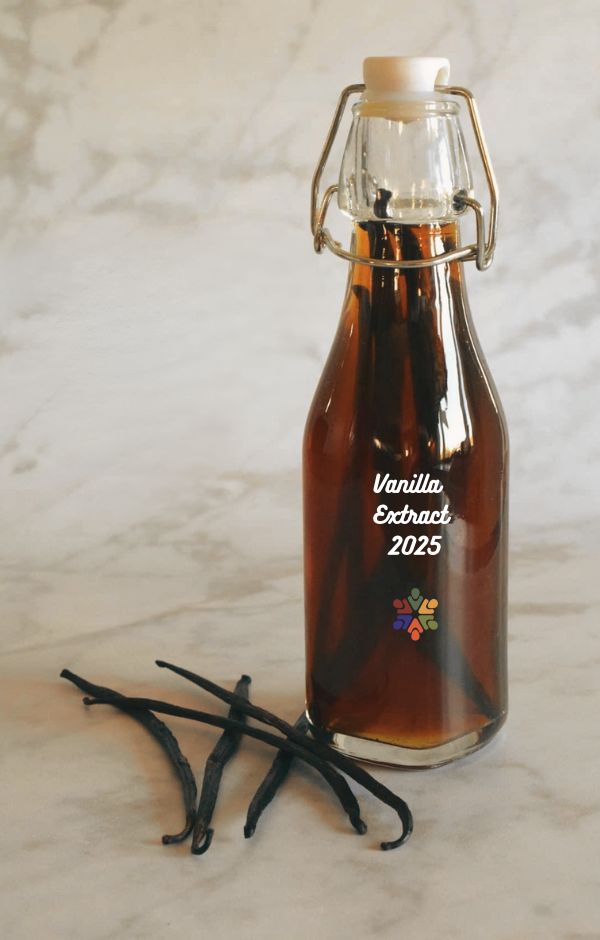
Vanilla Extract
Vanilla extract is one of the simplest ways to add depth and warmth to baking, and making your own takes it to the next level. Instead of relying on store-bought versions that can be weak, overly sweet, or packed with artificial flavors, homemade vanilla extract lets you control the quality from the start. All you need are fresh, fragrant vanilla pods and vodka (or other alcohol) to draw out the rich, complex flavors locked inside the beans. Over time, the pods infuse the alcohol with a deep, aromatic sweetness that’s far superior to anything you’ll find on the shelf. Plus, it’s cost-effective—just top it up with more vodka as you go—and feels incredibly satisfying to have your own handcrafted bottle ready to elevate cookies, cakes, and custards..
Ingredients
- 8 vanilla beans
- 1 cup vodka
- Using a sharp knife, slice the vanilla bean length wise and scrape the seeds and add to a jar or bottle.
- Place the pods in the bottel too and pour vodka on top so that the beans are fully covered.
- Shake a few times and place in a dark place. like a pantry.
- Shake about once a week. The extract will be ready in about 6-12 months.
The extract can store for years. As you use it, you can add more vodka, and when it gets weaker, just add more vanilla beans, or more pods.